

How to Winterize an Inboard Boat and Motor (And Save Big)
How To Guide: Winterizing Your Boat
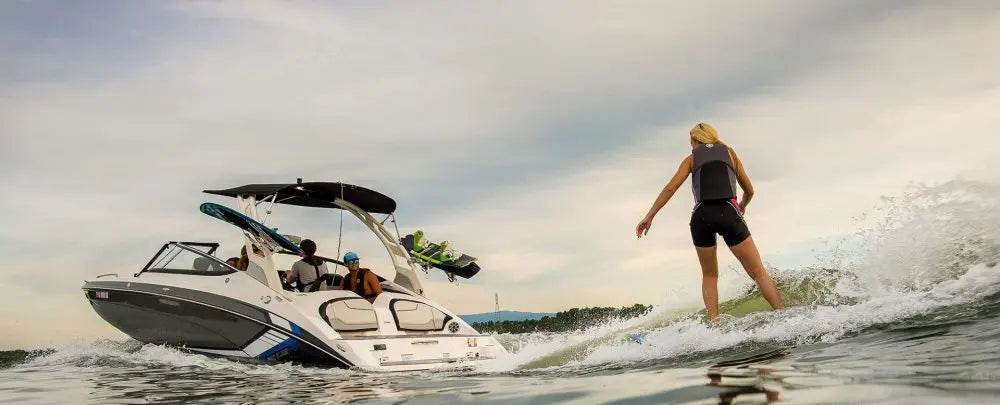
Pick up a new boat this year? or just sick of dragging your boat to the dealer or local shop and paying them hundreds of dollars to winterize your boat and motor? Let the experts at SWELL Wakesurf walk you through how to winterize your inboard boat and inboard motor as well as tackle an oil change, impeller replacement, and heater core winterization, for less than $150 and an hour of your time you can easily tackle this project in your garage! Follow the steps below and watch us winterize our 2005 Supra Launch 21V.
Material List: (oil filters and oil can be specific to engine)
- 6 Gallons RV Antifreeze
- Oil Filter
- 5.5 Quarts 20w40 Oil
- Oil Extractor
- Impeller
- Impeller Puller
- Trash Can
- Hose Fitting
- 15' Hose to can
- Garden Hose to Flush tool
- Fake-A-Lake Motor Flush Tool
- Funnel Set
- Sea Foam
Step 1: Change The Engine Oil
In order to change the oil we need to warm up the engine. You will first need to find the freshwater intake and attach the Fake-A-Lake Motor Flush Tool to make sure the engine doesn't over heat. That should be attached to the intake and a hose to a source of freshwater. Next you will add Sea Foam at a rate of 1oz per gallon of gas. Ideally you will fill your gas tank full with non-oxy gas. This will make sure the tank and hoses don't have any air gaps. Now you are ready to start the boat and get the engine up to idle temperature (typically the center of your temperature gauge).
Now hook up an oil vacuum pump. The hose from the extractor should attach to the oil drain on the engine, then remove the oil check cap (to prevent vacuum from stopping the oil draining). You are now ready to pump the oil out of the engine. Continue pumping until you are only getting air and now more oil. Replace the check oil cap and remove the hose from the oil drain, replacing the oil drain cover as well. Now we can remove the oil filter.
Taking a ziplock, or water tight bag, place it over the filter, and unscrew the oil filter. Make sure to to be careful to not let oil drip into your boat. To prepare the new oil filter you will fill it half-full with fresh oil, then spread a small amount of oil around the top to ensure a proper seal. Screw the new oil filter into place. Using a funnel add most of the oil to the engine (in this case we add 5 quarts, start the engine, stop the engine, check the oil and add around .5 quarts to finish). Adding too much or too little oil can cause a lot of issues so make sure to check manufacturers specs and check the oil level after adding oil.
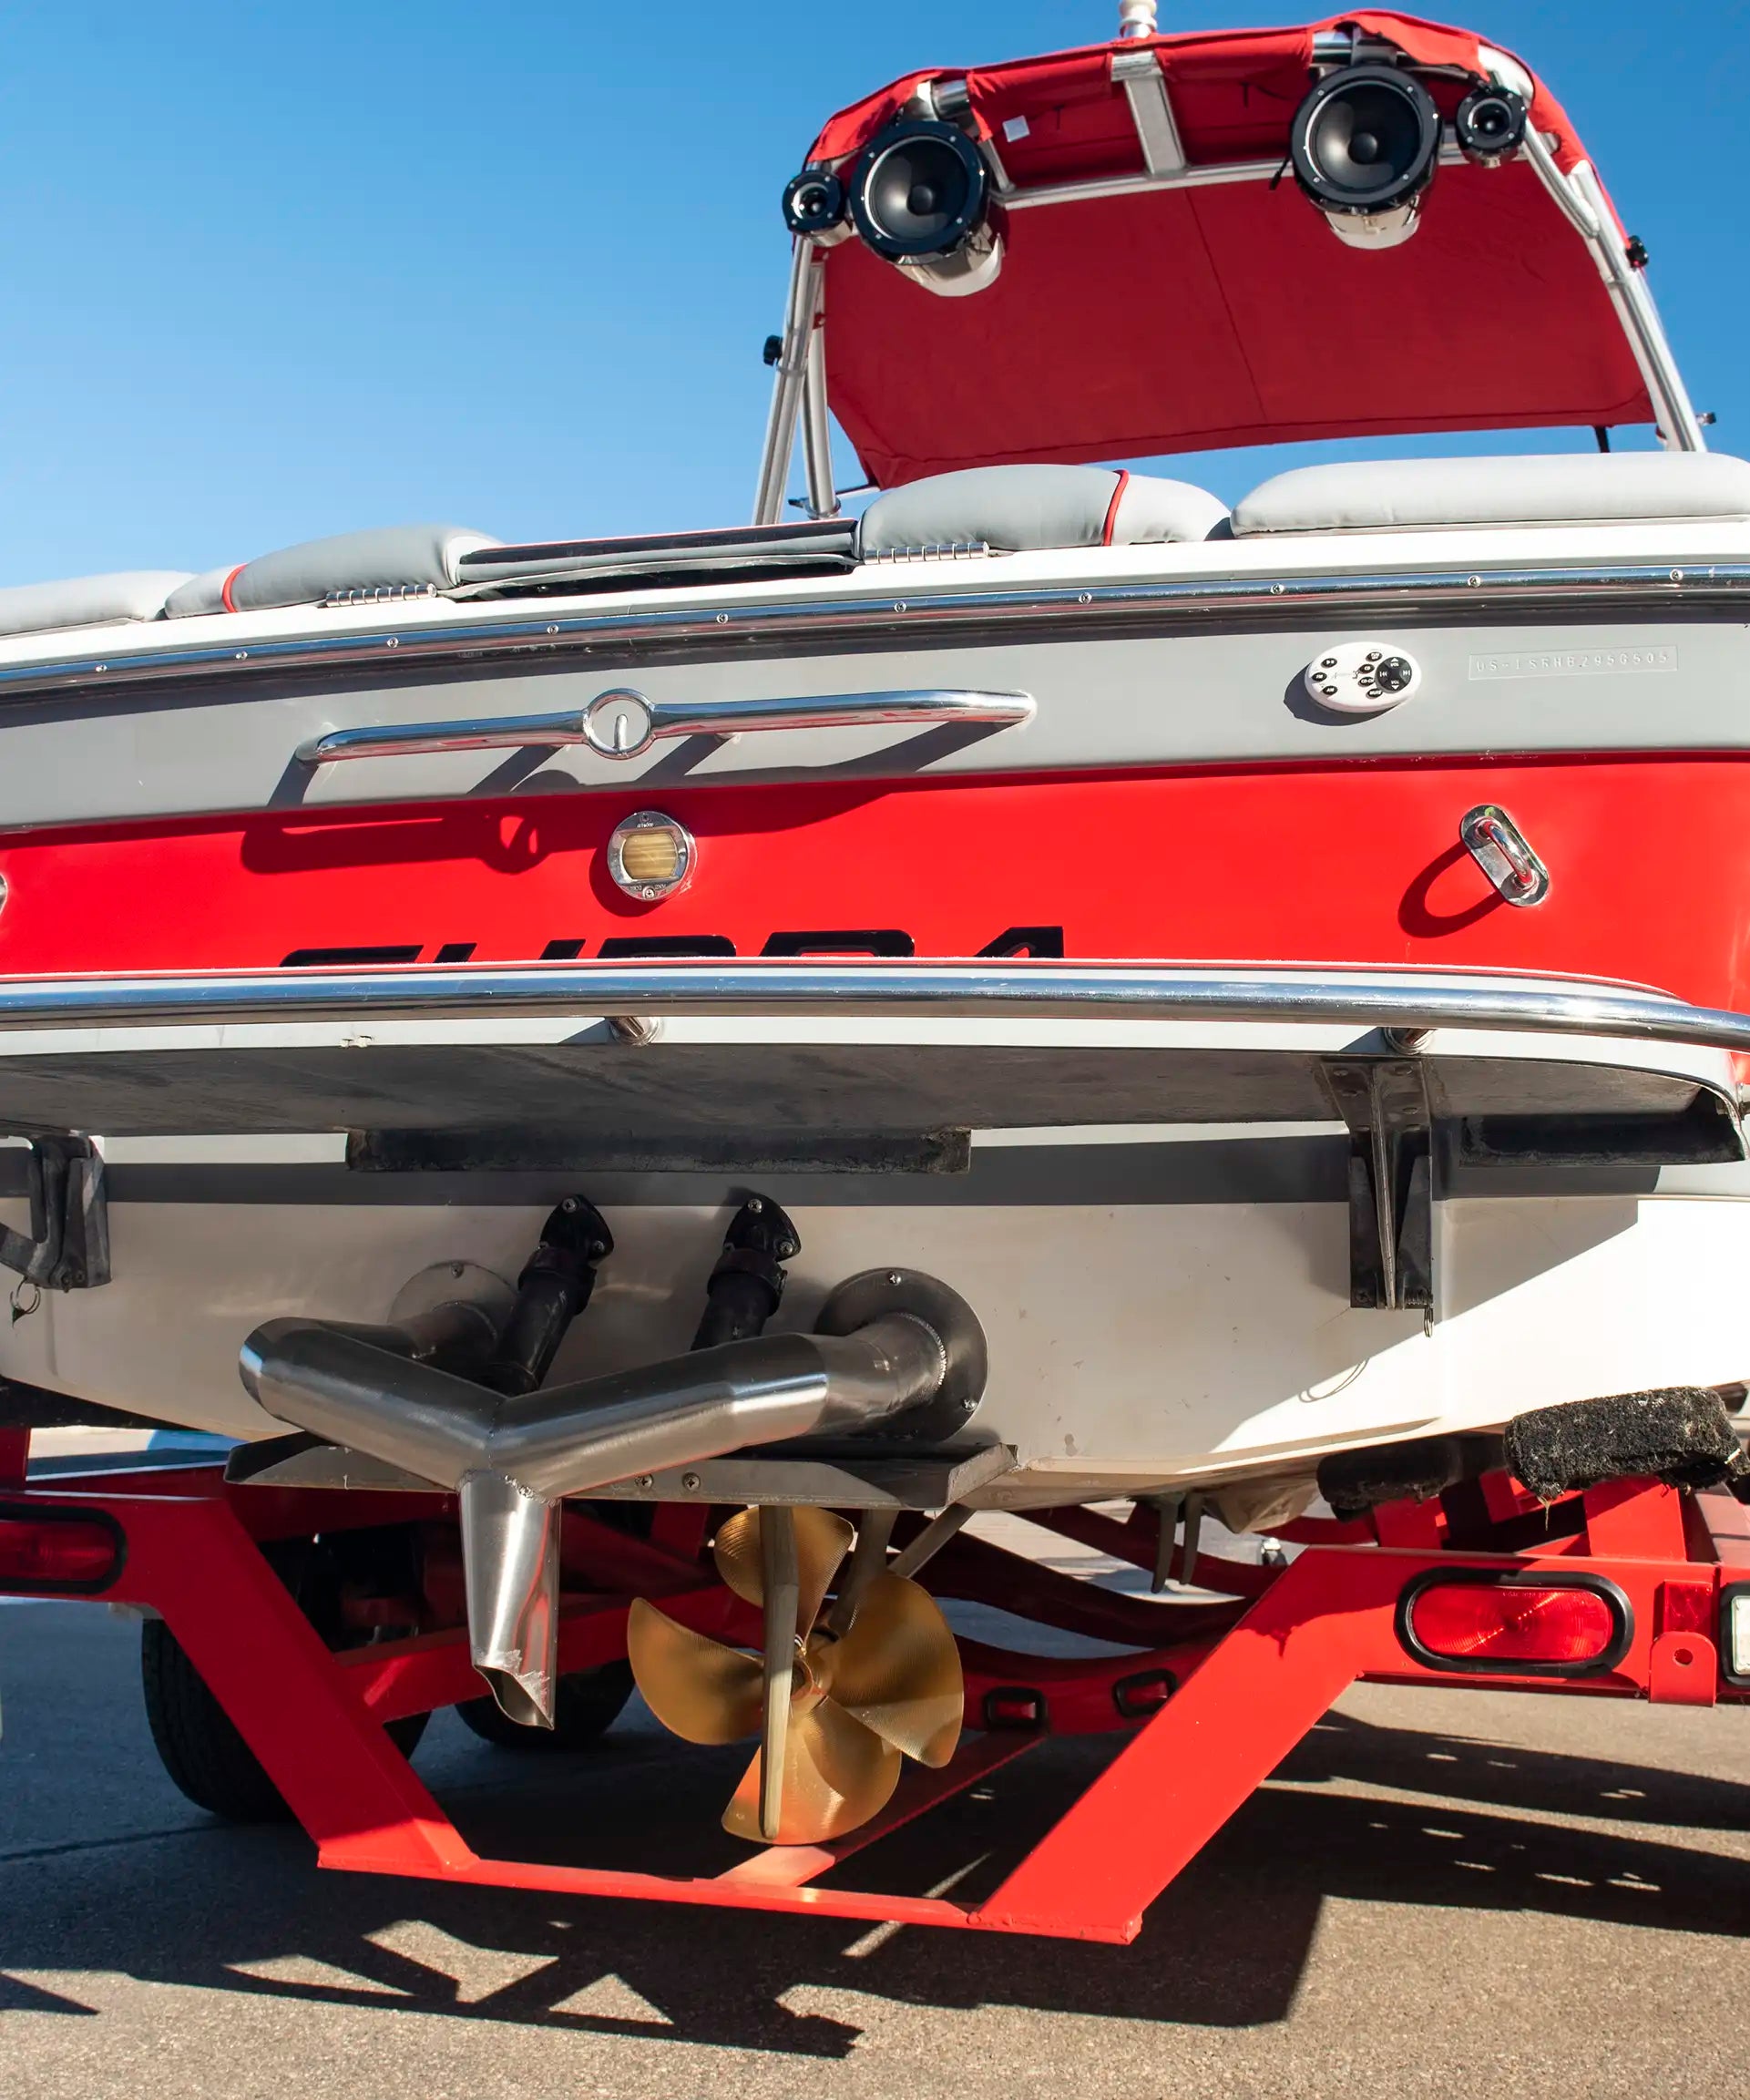
Step 2: Replace The Impeller (Cool Water Intake)
Locate the impeller cover for your boat. Remove the cover. Anytime you remove a seal on your boat make sure the gaskets are still in good condition or replace. Use an Impeller Puller (or carefully with the tools you have) to remove the old impeller. Check to insure your replacement impeller is the same model number or direct replacement. It can be difficult to insert the new impeller, some replacements come with a small amount of lube to help with this process or you may want to buy some if they don't. Using this lube spread it over the outside edges of the impeller. Push new impeller into place, taking care that the inner splines line up. Replace the impeller cover, ensuring that if it has a gasket it is oriented correctly. Once everything is back in place you will want to run the engine to make sure the impeller is working properly and sucking the freshwater.
Step 3: Add Anti-Freeze To System
Our goal here is to replace the freshwater in the system with Anti-Freeze to prevent any damage to the system in climates where the winter brings below freezing temperatures. You will need a large funnel with a hose fitting to attach to the Fake-A-Lake Motor Flush Tool, or we added a hose fitting to a garbage can for this purpose. You will fill up the funnel with the anti-freeze and start the engine. The new impeller will pull this through the system. We will keep adding anti-freeze until we see a fair amount starting to come out of the exhaust. The pink color makes it easy to see.
If your boat also has a heater core you will want to take a few extra steps. Unhook both hoses that pump to the heater core. We will use a compressor to blow the water water out of these hoses. Using a small funnel pour more of the anti-freeze into the heater hose until it comes out of the other end. You may need to use compressed air to help push the coolant through the system. Hook hoses back up to the engine.
Step 4: Fully Charge Battery/Ies And Unhook
To make sure the batteries don't drain over the winter we suggest unhooking the batteries from the boat. Attach an external charger and charge until full. Leave the batteries unhooked until it's time to use the boat the next year.
Step 5: Clean And Cover The Boat
Clean the exterior and interior of the boat. It's always easier to clean the boat when the contaminants haven't been sitting for long, you will be happy you cleaned it in the fall when you pull the boat out in the spring. If you don't have a cover for your boat you should invest in one or get it shrink wrapped for the winter. This helps keep out any new contaminants and deters small animals and insects from making the boat their new home.
Conclusion
That's it! Although it may have sounded like a huge undertaking, with a few simple tools and some direction anybody can do this! Save some money and know that your boat was winterized correctly and will be easy to get back on the water next year.
Thanks for reading and watching. Follow our video series below to watch us take this 2005 Supra Launch 21V from old wakeboard boat to Wakesurf Machine!
We also have some tips for Winterizing a 2021 Nautique G23
Check out all or videos and boat make overs on our Video Page.


Comments